Introduction
Both myself and co-founder, @seglberg, decided early in 2016 that it was time to rethink our workstations. We both had Thinkpad’s which were alright but lacked in performance and weren’t ready for the workload we presently required. While they’ve treated us well, we decided to look around and see what’s fresh in the laptop market, especially with the new Intel Skylake architecture available!
With the new things we’re working on, it’s essential that we can quickly run compression, encryption, docker builds, and virtual machines, etc.. without problems. Sure, we have some server infrastructure available to do this, but it’s much easier when developing to have the power you need up-front to more easily (and quickly) assess build outcomes. Plus, 32GB of RAM is quite nice ;)
The cover picture for this story comes from someone who put dbrand skins on his baby.
The Search
Matt and I decided the main goals were performance, but with a balance that also enabled a decent amount of portability (not too heavy, decent battery, etc..). The following properly shows our line of thinking:
Decently Portable, Exceptionally Performant; Mostly work, some play.
Looking around (Asus, Lenovo, etc.), we didn’t see anything that really impressed us. Perusing Dell’s site, we realized the new XPS line (9550) had very recently released (October, 2015) and if /r/dell was any indication, people loved em’!
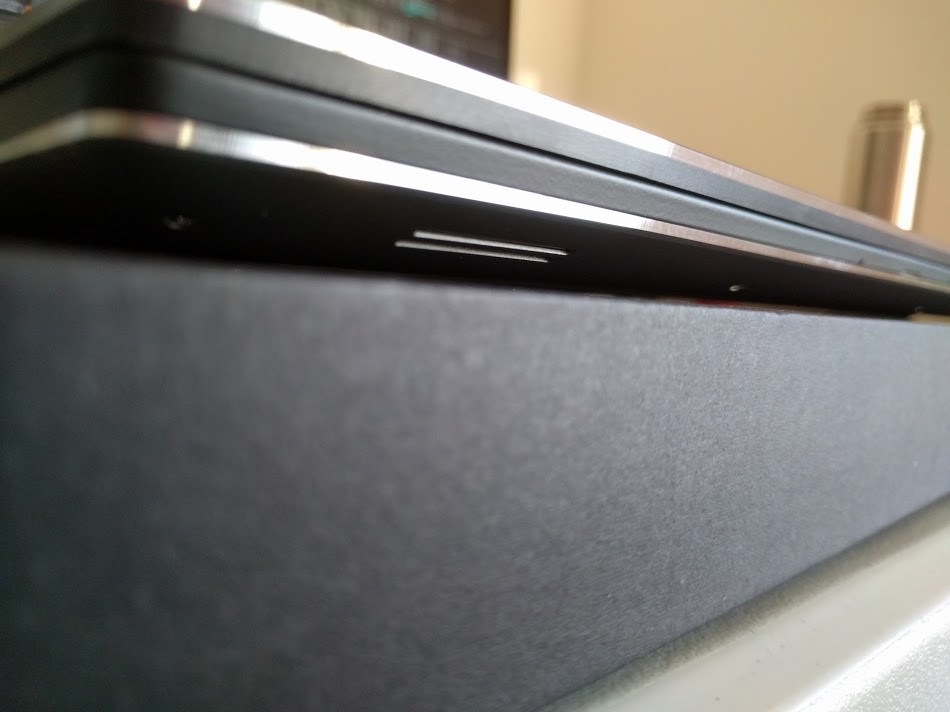
At 4.4lbs, available with a 84kwh battery, and even a dedicated GPU (960M), this was the one to beat. Plus, it has a USB-C port (Thunderbolt, and supports a nifty dongle) a bigger touch-pad, and beautifully thin bezel.
The search was complete!
Our Specific Model
We opted for the 512GB SSD (its NVMe btw), the 1080p matte screen, and the 84kwh battery. This specific model comes with 16GB of RAM (nbd, read next section) and the best available processor (6700HQ). Here it is on Dell’s site.
Since these laptops are meant for mostly work related operation, and since we use Linux, the 1080p decision was pretty easy. Having to deal with the scaling needs @ 4K would be a pain, especially when using external monitors. Plus, we’ve seen posts about terrible battery life with the 4K screen.
Umm, 32GB of RAM in a laptop?
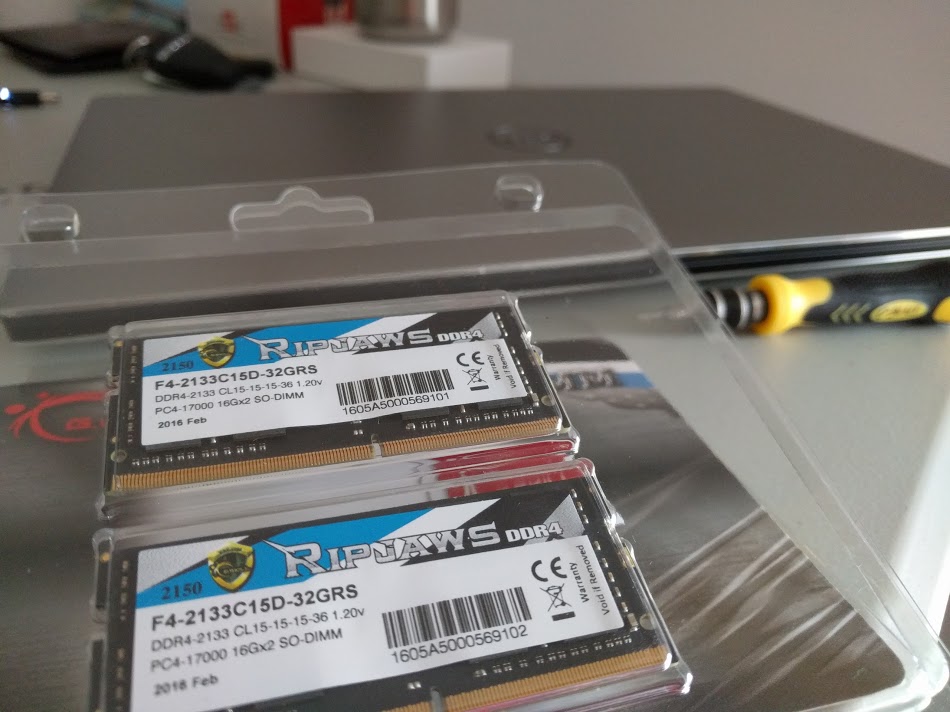
Digging into the details, we took a look at the spec page for the 6700HQ and instantly knew. With up to 64GB of DDR4 RAM supported, and knowing we had two RAM slots, we found a set of SO-DIMM’s from G.Skill that would fit ;)
There are presently no 32GB SO-DIMM’s. We’re hoping 32GB modules will release later this year.
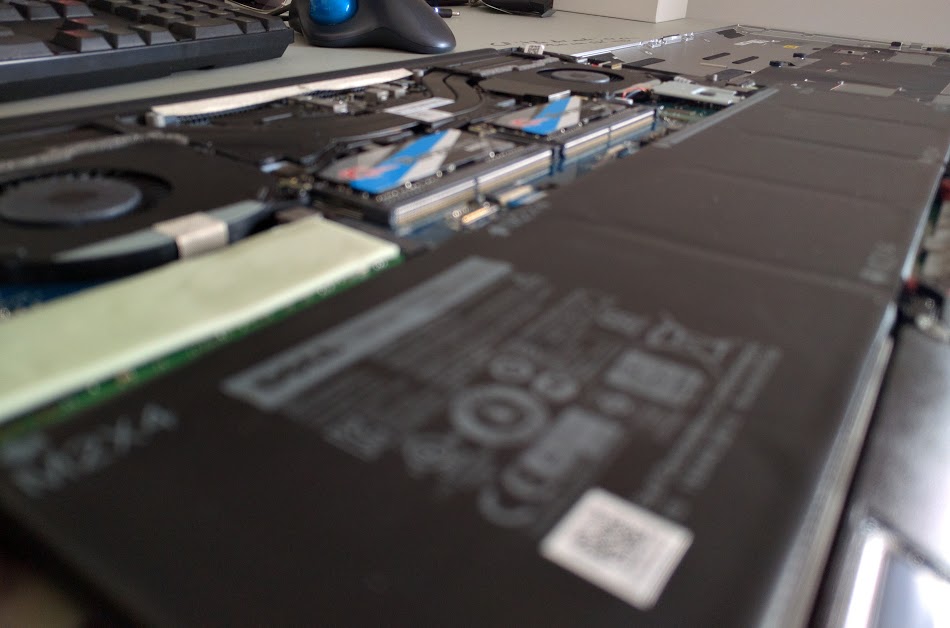
Since the entire back panel comes off fairly easily, we bought the right T5 and acquired a small Phillips, and were on our way.
Personally, I could probably use this laptop for the next 5-7 years and be completely happy with its performance;)
Other options
32GB isn’t only available with our setup. Other gaming oriented laptop models from companies like Asus and MSI have released in the last few months and offer the newer Skylake architecture with available 32GB configurations.
However, with some of those prices (and other features not needed), we found that buying RAM separately and installing it in this Dell model yielded the best cost option.
Another viable alternative would be the new Asus Zenbook.
The Quest for Winblows
Because of things like Microsoft Office and Adobe Acrobat plus the additional niceties like Visio and PC Games, we both knew Windows 10 was probably a must.
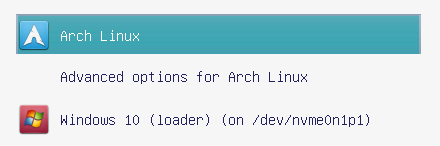
Luckily, GRUB works swimmingly when detecting Windows partitions. Additionally, installing Windows first and then Linux is the best way to go when doing a fresh build.
A few considerations when doing this:
- Make sure you install the
os-proberpackage with GRUB or else it can’t detect other operating systems on the system. - Windows likes to make a System Reserved partition at fresh install time (as the first partition on the disk). This is not needed unless you’re doing something like BitLocker. If not, it can be removed before moving on with the install (since we put /boot in its place).
It’s important to note that both of us opted for the easier route: We disabled Secure Boot and enabled Legacy Mode. This made handling of disk layouts much easier but has a security trade-off!
VMware Workstation Integration
The big upside to this is that we can import our Windows install as a Virtual Machine in VMware Workstation (we’re on 12.1)! This is super handy and only requires picking your boot and Windows partitions when walking through the “New Virtual Machine” wizard.
To clarify, this means you can boot your locally installed Windows partition inside of VMware Workstation!
Full-Disk Encryption

Yup! Not everyone does this but we feel its necessary nowadays, especially since the overhead in implementing encryption on Linux isn’t too high (cryptsetup is your friend ;)
However, we are only encrypting our Linux partition, for now. Since we’ll be primarily using Linux, we don’t plan to have any sensitive data on Windows anyways.
Here is the arch wiki page on dm-crypt which has links for more information about what setting this up looks like and how it works!
To BTRFS or Not?

If you haven’t already heard, BTRFS is a new CoW filesystem for Linux with advanced features like compression, snapshots, and subvolumes. However, throughout the Linux community, there are plenty of worries as to the stability of the filesystem since it’s so heavily developed on. Luckily, it has been declared stable by the dev’s and plenty of users have taken the plunge!
Understand that certain btrfs features may still not be stable, especially things like dedupe, raid5/6, etc.. There is still a bit of discussion in this realm.
Filesystem Structure (or How I Learned Subvolumes are your friend!)
toplevel
  +-- root       (subvolume, to be mounted at /)
  +-- home       (subvolume, to be mounted at /home)
We learned that subvolumes were really just logical groupings of mount points which could be used just like partitions. The core difference is you have access to the full btrfs partition space. Whats more, you can tune different btrfs options like compression per-subvolume!
With this, it felt like a good idea to create two subvolumes, one for /home and the other for /. This way, we could reinstall the operating system (or install another OS in another subvolume) whilst maintaining our home directories! Plus, you can use something like Snapper to handle snapshots for different subvolumes.
It’s worth noting that we actually didn’t use the top-level default subvolume (id=0/5). Instead, we created two Flat subvolumes at the top (i.e. rootfs and home).
Moo goes the CoW..
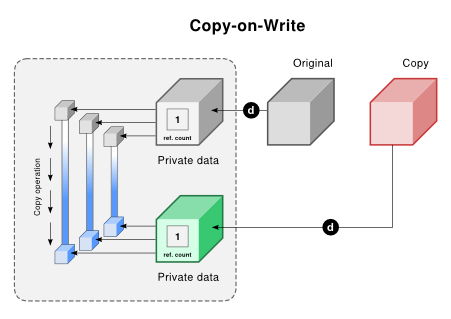
Because CoW is inherent to how btrfs operates, it’s highly recommended to turn off CoW on directories which might contain things like VM images and Database data directories.
There are also some other shifts in traditional filesystem features and handling which are important to review before adopting btrfs.
FYI, no Swap File ;(
Install Guide and Further Configuration
Whilst we progressed through the install, we documented the install process including the commands needed to complete things like formatting, bootloader setup, and encryption enabling. Hopefully this is helpful to some people, and of course, we welcome input on these instructions!
Furthermore, I have written another article about some of my post-installation efforts getting Arch, Gnome3, and other components in a state I prefer. This includes setup surrounding components like systemd-automount, extensions, and graphics fixes ;)
- Read Part Deux here!
Possible Future Plans
From input from others and reading other articles, there are a few enhancements and milestones I’m interested in reaching:
- Use Bitlocker to encrypt Windows partition.
- Remove /boot from being its own dedicated partition and utilize GRUB to decrypt root for accessing that data. (Link)
- Try out the Classic Gnome variant (probably more of what I want; maybe I won’t need as many extensions)
- Possibly utilize a external “encryption key” drive as well as a password (i.e. need USB plugged in to decrypt)
